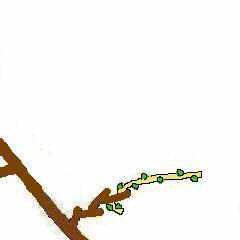
Rod Pruning of Grapevines
Rod pruning (medium-long pruning), i.e., pruning a cane to 3-7 eyes is a favourite pruning method for grapevines trained as fans, but can also be used on strict cordons. This method ensures a dense distribution of fruiting canes, hence a high fruit yield. In contrast to spur pruning, rod pruning ensures more reliable fruit yields, especially in young, vigorous vines as well as in some older varieties whose near-stem eyes are less fertile. Often rod pruning is combined with spur and cane pruning. Here we illustrate this pruning technique for vines that have been fully trained. If necessary, please refer first to the information on Trainingin the 1st to 3rd year!
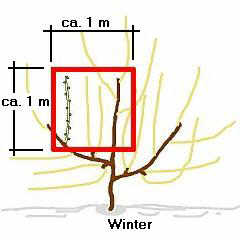
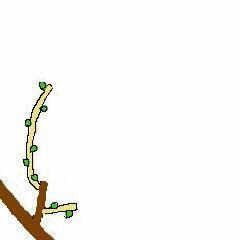
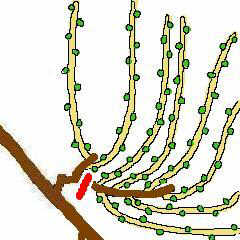
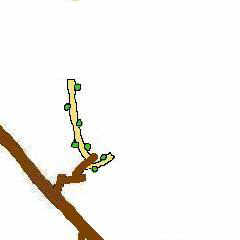
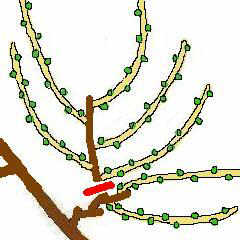
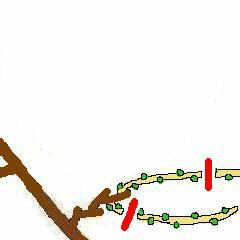
The diagrams below illustrate this pruning technique over several years based on one side shoot position. Other side shoots on the trained main framework have already been established, each about 30-60 cm apart (Diagram 00). The sequence of diagrams depict how the new side shoot is developed from one particular shoot which was planned during the training. The same sequence of development applies to a water shoot which grows from the main trunk in later years, and from which a new side shoot will be formed during the rejuvenation / vine renewal process.
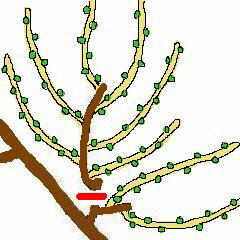
Rod pruning is done in 3 steps: pre-pruning, fruit cane pruning, and bending/tying. These steps can be carried out immediately one after the other or in stages over a few days or weeks. For vines on a façade, it is recommended to keep to this sequence: first, all side shoots are pre-pruned, the bulk of the wood is removed, making the vine immediately more manageable and easy to assess. This also facilitates fruit cane pruning and counting of the 10-20 buds per square metre of wall.
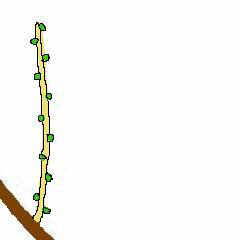
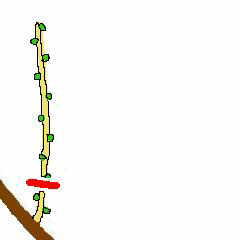
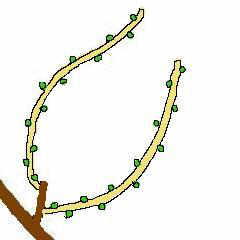
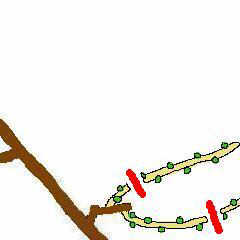
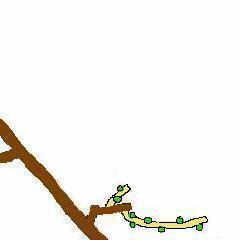
The diagrams in the column to the left show the side shoot after leaf fall in winter and pre-pruning into the old wood (dark brown). Summer pruning has preceded; otherwise, the shoots would be much longer. In summer, each cane produced 1-2 grape clusters. The diagrams in the centre depict the actual fruit cane pruning on the previous year's wood (ochre), and the diagrams in the column to the right show the result.
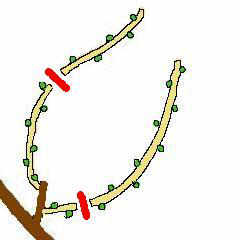
Diagram 05: The fruiting cane for the harvest for the year after next (the "replacement cane") will be developed from the separate spur. It is essential that this "replacement spur" is always closer to the main stem than the fruiting rod, so that over the years, the side shoot remains as close to the stem as possible.


